
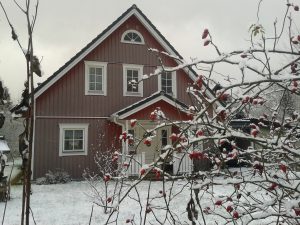
It’s that time of year again, kids opening presents by the fireplace, warm smells of apple pie baking in the oven… and grabbing your tangled holiday lights from the shabby crate in the attic. We all know that hanging outdoor lights can be a daunting task, but with a few easy preparation tricks, it doesn’t have to be. Follow our guide to make sure your house is the merriest and brightest of them all this season.
Gather Your Supplies
Nothing is worse than having to dig out the measuring tape once the ladder’s all set up. Grab everything at once to save time and sanity. Here’s what you’ll need:
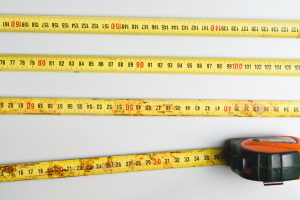
Tape measure
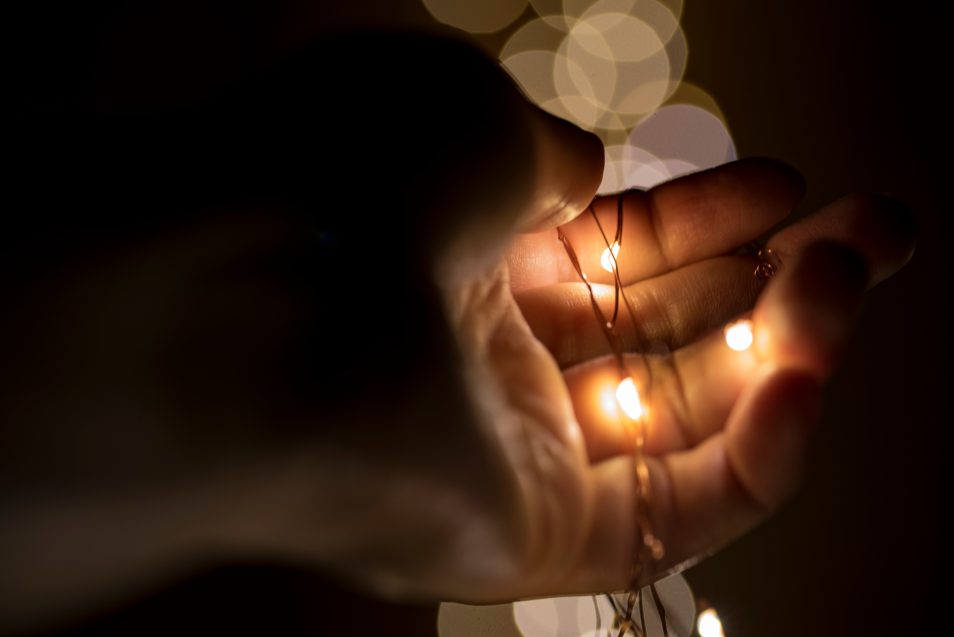
Lights
Light bulb tester
Plastic light clips and hooks
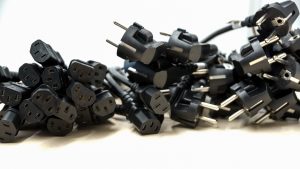
Heavy-duty extension cords
Outdoor light timer
Long nose pliers
Step ladder or extension ladder

Test Your Lights
You wouldn’t want to get to the top of the ladder just to discover that some of the bulbs in your string of lights have blown out. Gather your lights beforehand and use a light bulb tester to ensure the lights are working properly. Don’t use lights with faulty wires, as they could pose a fire hazard. Use long nose pliers to extract broken bulbs and replace with a bulb with the correct wattage. Check for blown fuses and replace according to manufacturer’s instructions. If you find that many of your lights simply aren’t working, don’t fret. Several stores stock holiday decorations right after Halloween, so finding replacements should be a breeze.
Map out your plan
Now that your lights are squared away, it’s time for the technical part. Mapping out your lights beforehand will save you tons of time on the installation process. First, locate your electrical receptacle. It should be protected by a ground fault circuit interrupter. Measure the length of your house on the ground, in addition to the height. Use that number to figure out how many strings of lights you’ll need. You’ll most likely need extension cords for extra length. Make sure they are heavy duty and waterproof. When deciding where you want to hang your lights, pick a focal point. Maybe you have a grand entryway that your icicle lights would look fantastic over. Attach plastic string light clips to your eaves or shingles, depending on their strength. Place them about 12 inches apart, trying not to damage the roof or gutters. Do not use staples or nails, as they pierce insulation and create electrical hazards.

Hang the Lights
It’s best to hang lights on a dry, non-windy day. This makes the process much more comfortable and safe. Place your ladder firmly on the ground before climbing. If you’re using an extension ladder, lean it against the eaves rather than the gutter. If you find yourself leaning too far, simply step down and move the ladder rather than risk an injury. Always have a spotter helping you during the hanging process. Use a switch control or an outdoor timer to turn the lights on and off at your convenience. Try to time the lights at dusk, and leave them on for 2-3 hours, or before your bedtime. This will save money on your electricity bill and most importantly, prevent fires.
You’re all done! Now you can sit back and enjoy the beauty of the holidays, right at home. Celebrate with a cup of hot chocolate and a warm cookie – you’ve earned it!
Once you’re atop the ladder, don’t fret if you find that your roof is looking a bit worn. Call Aspen and schedule a free inspection! You’ll get detailed reporting complete with a free estimate. Our lifetime labor and material warranties will ensure that you have the best roof AND outdoor holiday decorations in the neighborhood!
Additional Safety Tips
Wear comfortable clothing and dry shoes with plenty of grip on the sole.
Keep your cords above snow and clear of walkways and standing water.
Make sure cords are not pinched in doors, windows or heavy furniture.
Always unplug lights before replacing bulbs or fuses.
Turn off all lights before leaving home or going to sleep.